Web API 프로젝트에 Swagger 을 적용한 뒤에 Parameter 에 대한 설명등을 추가하려면 별도의 작업이 필요합니다.
이를 위해 XML 관련 설정을 추가해 주고 소스 코드에 주석을 달면
이를 자동화해서 도움말에 설명도 추가 할 수 있습니다.
Startup.cs 의 ConfiguraServices 메소드에 아래 내용을 적용 후
#region Locate the XML file being generated by ASP.NET...
                var xmlFile = $"{Assembly.GetExecutingAssembly().GetName().Name}.XML";
                var xmlPath = Path.Combine(AppContext.BaseDirectory, xmlFile);

                //... and tell Swagger to use those XML comments.
                c.IncludeXmlComments(xmlPath);
                #endregion
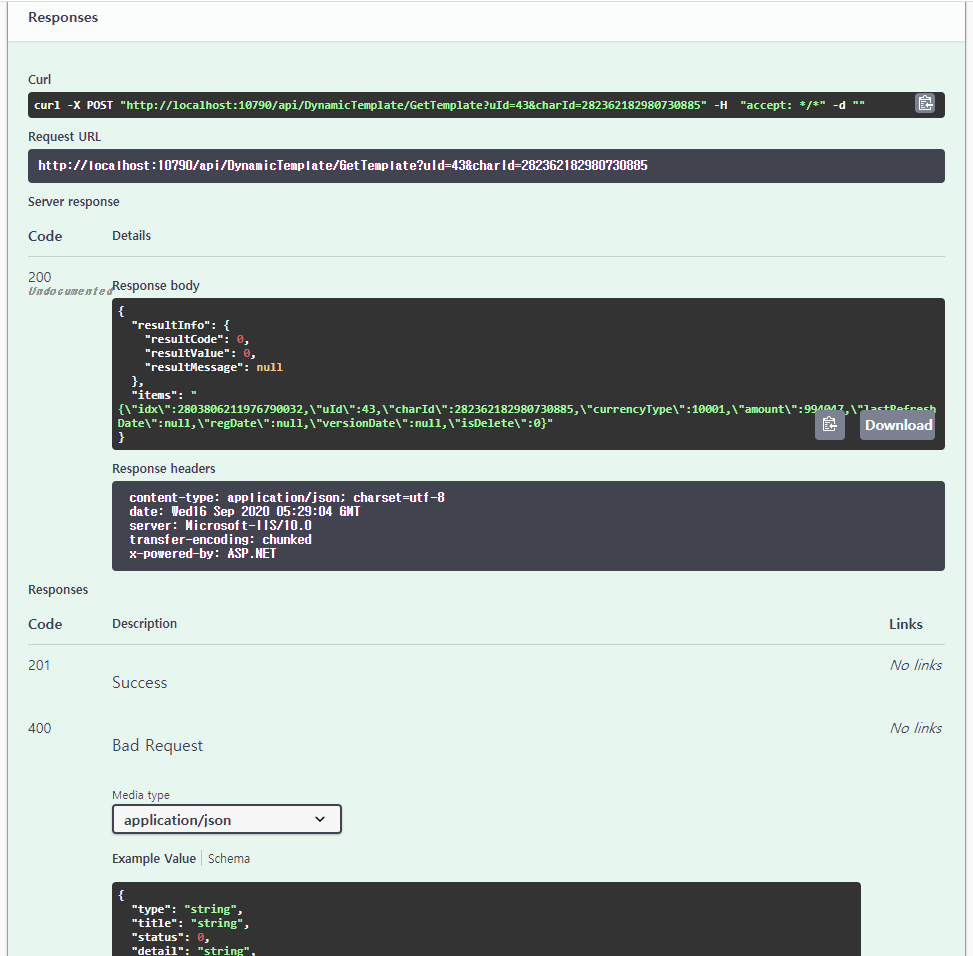
API 구현 하면서 문서화에 대한 부분은 고민이 많은데 Swagger 를 적용하면 몇 라인의 코드 적용만으로도
문서화 및 디버깅까지 가능한 훌륭한 구조를 프로젝트에 포함 시킬 수 있는 장점이 있습니다.
1. 구현 미리보기
2. Nuget 패키지관리에서Swashbuckle.AspNetCore추가
3. Startup.cs
        // This method gets called by the runtime. Use this method to add services to the container.
        public void ConfigureServices(IServiceCollection services)
        {
            services.AddControllers();

            services.AddSwaggerGen(c => {

                // sepcify our operation filter here.
                c.OperationFilter<AddCommonParameOperationFilter>();

                c.SwaggerDoc("api", new OpenApiInfo { Title = "Web API", Description = "WebAPI 사용법\r\nId : 43, charId : 282362182980730885"
                , Contact = new OpenApiContact { Name = "Minecraft", Email = string.Empty
                , Url = new Uri("http://localhost:1790") }
                });
            });
        }
        // This method gets called by the runtime. Use this method to configure the HTTP request pipeline.
        public void Configure(IApplicationBuilder app, IWebHostEnvironment env)
        {
            if (env.IsDevelopment())
            {
                app.UseDeveloperExceptionPage();

                app.UseSwagger();
                app.UseSwaggerUI(c => {
                    c.SwaggerEndpoint("api/swagger.json", "Api Documents");
                });
            }
            else
            {
                app.UseExceptionHandler("/Home/Error");
                app.UseHsts();
            }
        }