Web API 프로젝트에 Swagger 을 적용한 뒤에 Parameter 에 대한 설명등을 추가하려면 별도의 작업이 필요합니다.
이를 위해 XML 관련 설정을 추가해 주고 소스 코드에 주석을 달면
이를 자동화해서 도움말에 설명도 추가 할 수 있습니다.
Startup.cs 의 ConfiguraServices 메소드에 아래 내용을 적용 후
#region Locate the XML file being generated by ASP.NET...
                var xmlFile = $"{Assembly.GetExecutingAssembly().GetName().Name}.XML";
                var xmlPath = Path.Combine(AppContext.BaseDirectory, xmlFile);

                //... and tell Swagger to use those XML comments.
                c.IncludeXmlComments(xmlPath);
                #endregion
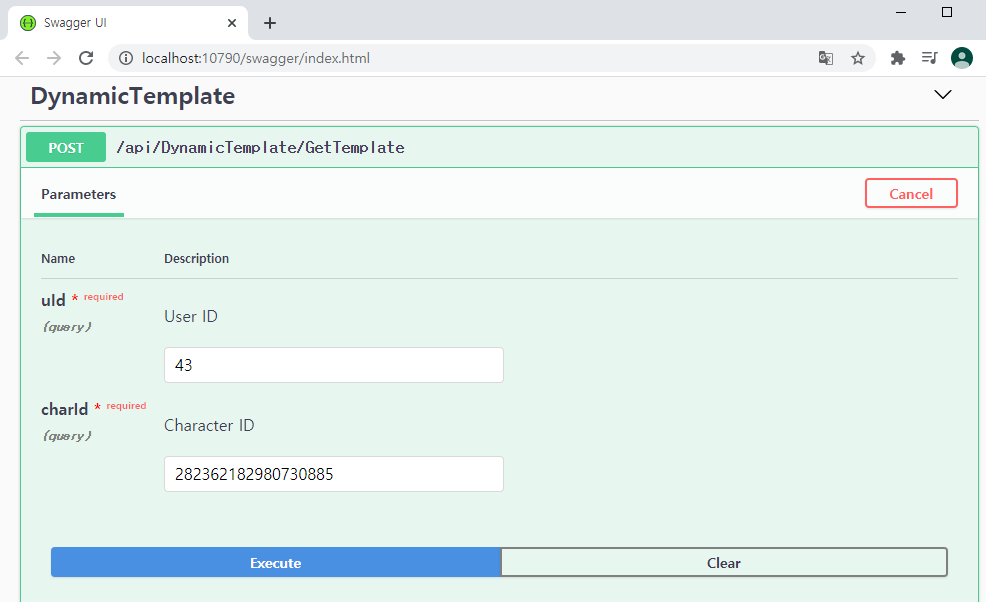
Controller 구현부에 아래와 같은 ///주석을 통해 설명을 추가합니다.
/// <summary>
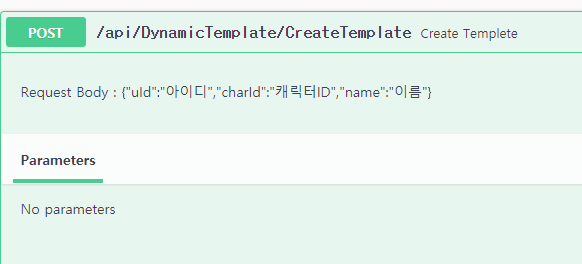
/// Create Templete
/// </summary>
/// <remarks>
/// Request Body : {"uId":"아이디","charId":"캐릭터ID","name":"이름"}
/// </remarks>
/// <param name="uId">아이디</param>
/// <param name="charId">캐릭터ID</param>
/// <param name="name">이름</param>
/// <returns>A serialized json string</returns>
[HttpPost]
[Produces("application/json")]
[ProducesResponseType(StatusCodes.Status201Created)]
[ProducesResponseType(StatusCodes.Status400BadRequest)]
[Route("CreateTemplate")]
public ActionResult CreateTemplate()
{
/// body
}
소스 코드에 적용한 주석은 아래와 같은 형태로 설명 문서에 적용됩니다.
exceptionnotfound.net/adding-swagger-to-asp-net-core-web-api-using-xml-documentation/