API 구현 하면서 문서화에 대한 부분은 고민이 많은데 Swagger 를 적용하면 몇 라인의 코드 적용만으로도
문서화 및 디버깅까지 가능한 훌륭한 구조를 프로젝트에 포함 시킬 수 있는 장점이 있습니다.
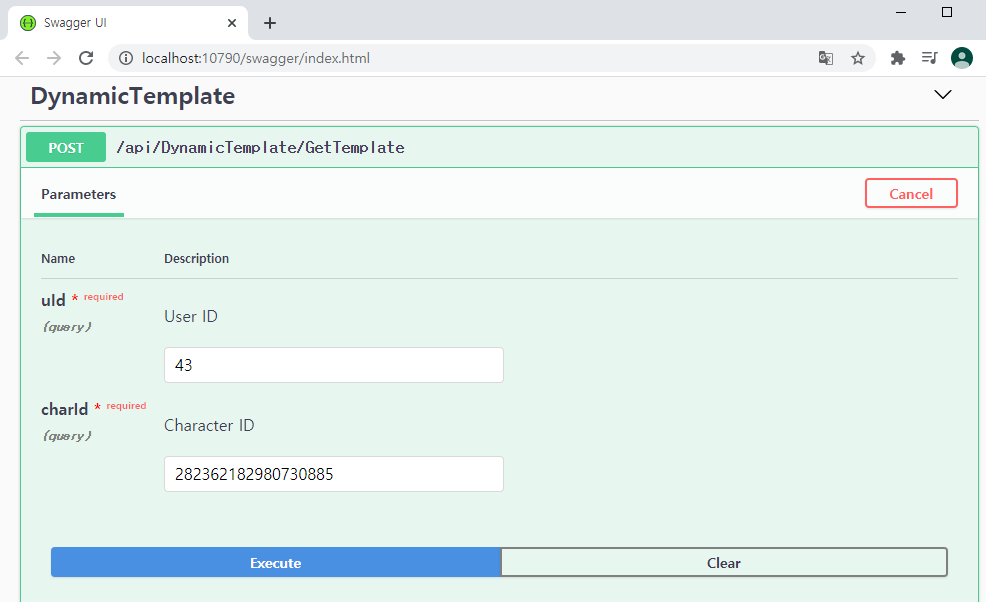
1. 구현 미리보기

2. Nuget 패키지 관리에서 Swashbuckle.AspNetCore 추가
3. Startup.cs
        // This method gets called by the runtime. Use this method to add services to the container.
        public void ConfigureServices(IServiceCollection services)
        {
            services.AddControllers();

            services.AddSwaggerGen(c => {

                // sepcify our operation filter here.
                c.OperationFilter<AddCommonParameOperationFilter>();

                c.SwaggerDoc("api", new OpenApiInfo { Title = "Web API", Description = "WebAPI 사용법\r\nId : 43, charId : 282362182980730885"
                , Contact = new OpenApiContact { Name = "Minecraft", Email = string.Empty
                , Url = new Uri("http://localhost:1790") }
                });
            });
        }
        // This method gets called by the runtime. Use this method to configure the HTTP request pipeline.
        public void Configure(IApplicationBuilder app, IWebHostEnvironment env)
        {
            if (env.IsDevelopment())
            {
                app.UseDeveloperExceptionPage();

                app.UseSwagger();
                app.UseSwaggerUI(c => {
                    c.SwaggerEndpoint("api/swagger.json", "Api Documents");
                });
            }
            else
            {
                app.UseExceptionHandler("/Home/Error");
                app.UseHsts();
            }
        }
docs.microsoft.com/ko-kr/aspnet/core/tutorials/web-api-help-pages-using-swagger?view=aspnetcore-3.1
Swagger/OpenAPI를 사용한 ASP.NET Core Web API 도움말 페이지
이 자습서에서는 Swagger를 추가하여 Web API 앱에 대한 설명서 및 도움말 페이지를 생성하는 연습을 제공합니다.
docs.microsoft.com
4. 사용자 정의 Parameter 처리를 위한 클래스 추가
Web API 개발의 일반 적인 구조는 Entity 를 주고 받는 형태로 되어 있으므로 이 부분은 불필요 하지만
Entity 를 사용하지 않는 구조라면 고려할 만 합니다.
Custom 파라미터 적용을 위한 방법
https://www.c-sharpcorner.com/article/add-custom-parameters-in-swagger-using-asp-net-core-3-1/
Add Custom Parameters In Swagger Using ASP.NET Core 3.1
This article showed you a sample of how to add custom request parameters in Swagger using ASP.NET Core 3.1 and Swashbuckle.AspNetCore 5.0.0
www.c-sharpcorner.com
위 구조를 적용하고 나면 1번 미리보기 화면의 uId, charId 입력 파라미터 구조를 사용할 수 있습니다.
뚝딱뚝딱! MSDN 문서 뒤지고 구글링 해봐도 머리만 아팠는데 막상 적용하고 나니 깔끔하네요. ^ㅡ^
